What is Cold Stratification?
- Chelsea

- Feb 10, 2023
- 4 min read
Happy winter! My name is Chelsea and at this time of year I am dreaming of warm sunny spring days to spend many hours in my garden. Unfortunately it is still winter, so I have to settle with dreaming and planning. I will spend hours looking on different websites for fun and unusual seeds to try this year and of course buying unique seeds sometimes comes with challenging growing instructions.
Have you ever bought a seed packet that contained words like “cold stratification,” “cold stratify,” or “cold moist stratify” and wondered what that meant?
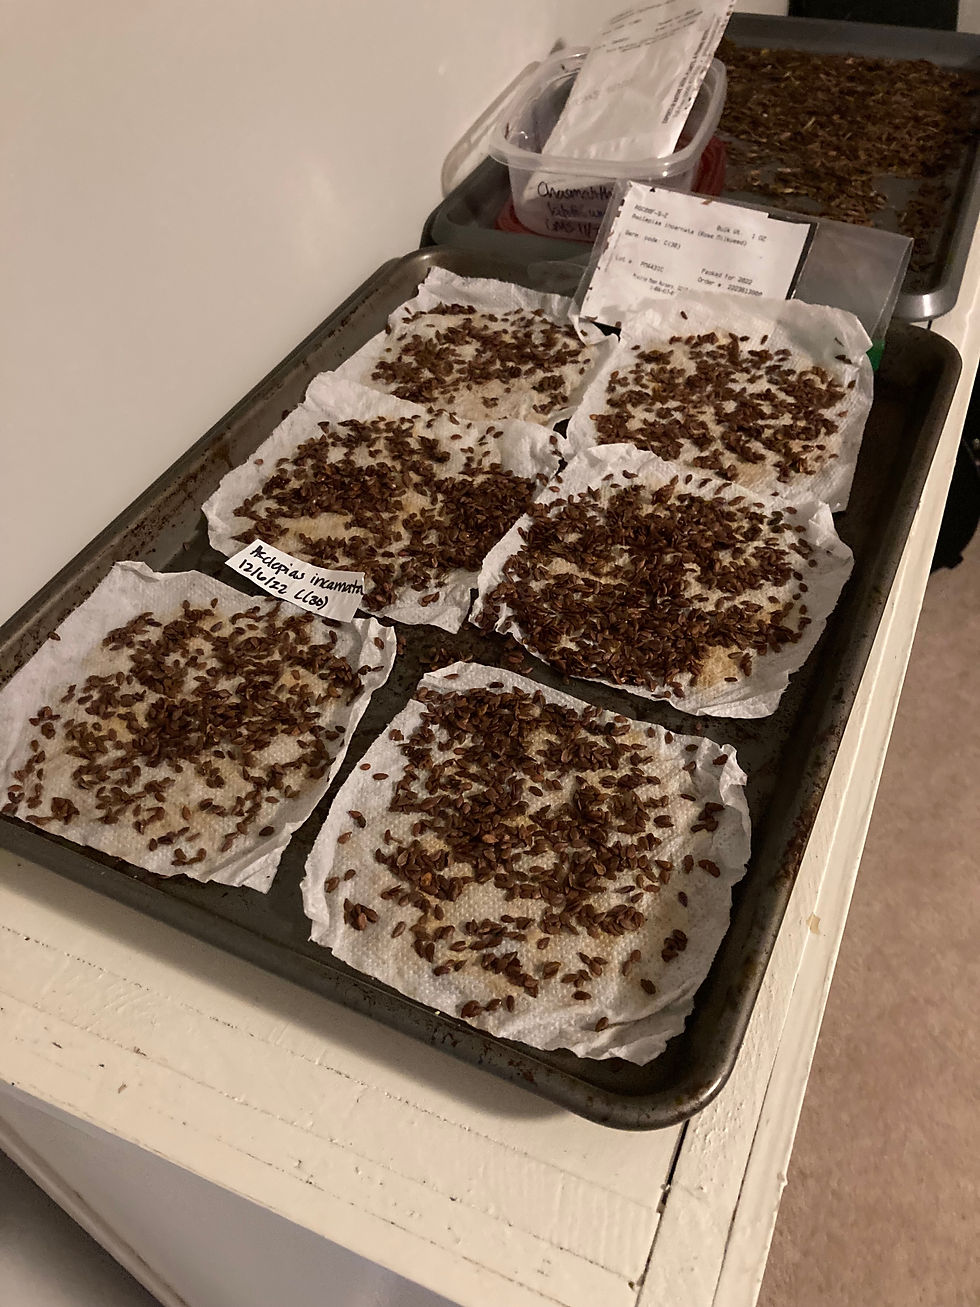
All these terms mean the same thing; it is an extra step that needs to be taken in order for the seeds to germinate successfully by “breaking dormancy.” This process allows you to imitate nature in a controlled environment. A lot of plants, especially perennials, create seeds that need to be durable and strong enough to withstand a wide range of extreme weather whether it is hot or cold. Sometimes plants produce seeds that need cold weather and water to break down the seed coating (aka winter). If you are like me and not patient enough to wait another year or even winter to get your seeds to start growing, then this is where cold stratification comes into play. It is our way of creating “winter” in our fridge in order to break down that seed coating quickly to allow for successful germination.

There are multiple different ways to cold-strat and you need to pick whichever method works best for you. You could use sawdust, sand, vermiculite, peat moss, or other natural materials. You could put it in a Ziploc bag or storage container. I will show you what I have found works best for me- I already have most of the supplies at home.
I like to use paper towels and storage containers. Typically, I use the storage containers you get whenever you buy deli meat (great way to reduce and reuse recycling). I wash it with soap and water before using and will reuse the container after cold stratification or cold-strating making sure to wash it well between uses.
Materials Needed:
-Filtered Water
-Water bottle
-Scissors
-Seed
-Storage container
-Label
-Paper Towels
-Marker

Step 1- Clean the Storage container you are using and gather supplies.

Step 2- See if the paper towel fits the container and cut it down to size if needed. I typically cut mine in half

Step 3- Spray the paper towel with filtered water until it’s wet but not soaked. I typically squeeze out the excess water. I use filtered water to help decrease the chance of any yucky germs that might come from faucet water. Try to keep the seeds as clean as possible.

Step 4- Lay down the paper towel down in the container and sprinkle seeds on top of it. Spread the seeds out evenly, avoiding overcrowding and making sure the seeds are not laying on top of each other. You can create multiple layers, so do not worry about sprinkling too many seeds onto one layer.


Step 5- Spray one or two pumps of water on the seeds to help them get wet

Step 6- Lay another damp paper towel on top. Make sure that towel is not dripping water but still damp.
Step 7- If you have more seeds left, this is when you will add another layer of seeds and repeat steps 3-6 until you are out of seeds. It’s kind of like lasagna but with seeds and paper towels.
Step 8- Make sure you have a damp paper towel on top of your last layer.

Step 9- Create a label and put it on the container to ensure you know which seeds are in which containers. I like to put the date in which I put it into the fridge and how long it needs to be in there. A lot of times the seed packet will tell you how long it needs to be cold-stratified.

Here are two seed packs from different companies that you’ll notice both seed packets state how long to cold-strat:


Step 10- Put the seed container into the fridge and wait. Try not to put them in the coldest part of the fridge (typically in the back) because mine have frozen once before by being in the back of the fridge. While they are in the fridge, I will occasionally check on the seeds to see if the paper towels are staying damp enough, if they are frozen, or if the seeds have started to germinate. Once the seeds have sat in the fridge for the amount of time stated on the seed pack, pull them out and you should be ready to plant them according to the packet instructions. If they have started to germinate, make sure to plant them right away. If the seeds have not germinated, I let the paper towel dry out some before removing the seeds because it is a lot easier. A damp towel and wet seeds are difficult to separate especially when working with tiny seeds.
Have fun and happy growing!
-Chelsea

Pictured above is Dicentra eximia, a perennial that requires cold stratification as part of the process in order to germinate.


Great thorough instructions!! Could you explain plants that may need different light conditions during the seedling stage? China asters in particular seem so fussy with light exposure before and after being planted out. Thanks!